Conveniently Build a Simple GIS Application Platform
If you want to quickly obtain GIS service capabilities without building a GIS server, SuperMap Online provides a way to build your own GIS server by renting instead of purchasing. Based on Cloud Storage, you can upload data and publish services conveniently, and proceed sencondary development combining with API services.
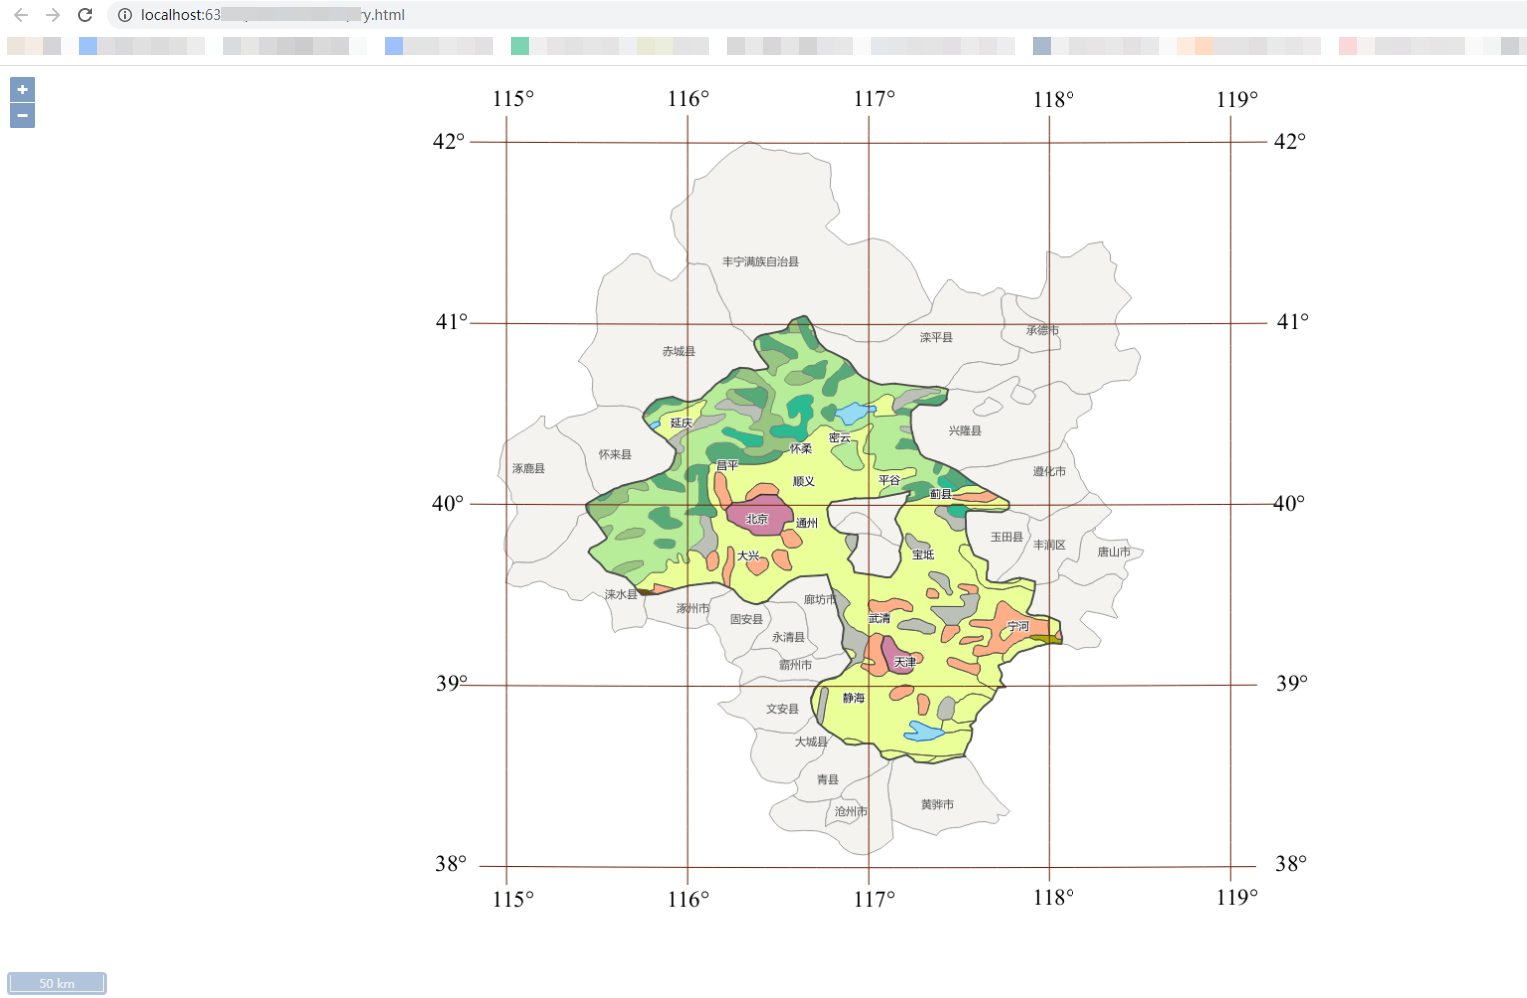
This example will lead you: upload data, publish the data as a REST map service and set the permission to public, then you can use it on your own webpage. The sample data is the map of Beijing and Tianjin, click to download sample data.
 Use REST service in your webpage
Step1 Upload data and publish service
Open SuperMap Online, click 'GIS Store' > 'Resource', then click 'Start Creating' > 'Upload Resources' > 'Data' on the Resource Center. On the upload data page, select the data type as 'SuperMap Workspace', then upload file and click 'Upload and Publish', select the service type as 'REST Map Service'. Finally, click 'Next' and 'Upload and Publish' to complete service publishing.

Step2 Set the REST map service as public and copy the service address
In 'Resource Store' > 'My Resource', select the service published in previous step, click the 'More' icon in the lower right corner and select 'View Details'. Then click 'Sharing' tab page in the detail page, and click 'Share', select 'Public Download'. Finally, click 'Save' to complete.

Return to data page, click the published service link, click 'maps' on the pop-up page, select 'Beijing-Tianjin area map' and copy the current webpage address.
Step3 Build a web page and use map service
You can use the REST service for secondary development. Take SuperMap iClient for OpenLayer as an example, enter the following sample code to use the REST map service on your webpage.
<!DOCTYPE html>
<html>
//Introduce script
<head>
    <meta charset="UTF-8">
    <link href="https://cdn.jsdelivr.net/gh/openlayers/openlayers.github.io@master/en/v6.4.3/css/ol.css" rel="stylesheet" />
    <link href='https://iclient.supermap.io/dist/ol/iclient-ol.min.css' rel='stylesheet' />
    <script type="text/javascript" src="https://cdn.jsdelivr.net/gh/openlayers/openlayers.github.io@master/en/v6.4.3/build/ol.js"></script >
<script type="text/javascript" src="https://iclient.supermap.io/dist/ol/iclient-ol.min.js"></script>
</head>
//Insert the map
<body style=" margin: 0;overflow: hidden;background: #fff;width: 100%;height:100%; position: absolute;top: 0;">
<div id="map" style="width: 100%;height:100%"></div>
<script type="text/javascript">
    var map, url = "http://192.168.56.1:8195/portalproxy/iserver/services/map_jingjin_r0oohttps://www.supermapol.com/proxy/iserver/services/map_jingjin_nv35yfs1/rest/maps/Jingjin area map"; Here is the address of the REST map service you used.
    map = new ol.Map({
        target:'map',
        controls: ol.control.defaults({attributionOptions: {collapsed: false}})
                .extend([new ol.supermap.control.Logo()]),
        view: new ol.View({
            center: [0, 0],
            zoom: 2,
            projection:'EPSG:4326',
            multiWorld: true
        })
    });
    var layer = new ol.layer.Tile({
        source: new ol.source.TileSuperMapRest({
            url: url,
            wrapX: true
        }),
        projection:'EPSG:4326'
    });
    map.addLayer(layer);
    map.addControl(new ol.supermap.control.ScaleLine());
</script>
</body>
</html>
If you do not want to set your service as public, you need to apply for key in advance, then use your REST map service. In addition, you can directly use the map that created in DataViz, or use the REST data service to implement data query and other functions, click to learn more about how to use REST services.